Perform pure video motion detection on RGB images with your cheap Esp32-camera and save photo captures to the flash memory or SD card without hassle! Easy to use and fully customizable!
I wrote a couple posts on motion detection, each time improving on the previous.
What was left out after all this time was the ability to perform motion detection on RGB images: from now on, this has become possible. And I'll show you how easy it is.
The main use of motion detection (as per your comments) is to take a photo capture of an event and store it somewhere (internal flash memory or external SD card): until now it was only possible to save grayscale images, but it was clearly a limiting solution. This is why I settled to produce an updated algorithm able to capture RGB images.
Motion detection, refactored again!
I already refactored the motion detection algorithm for the grayscale photo capture post, but I thought something was missing already.
So I refactored again the algorithm and now it is something I feel works well.
It may not be the fastest, but surely it is the most readable and customizable in my opinion.
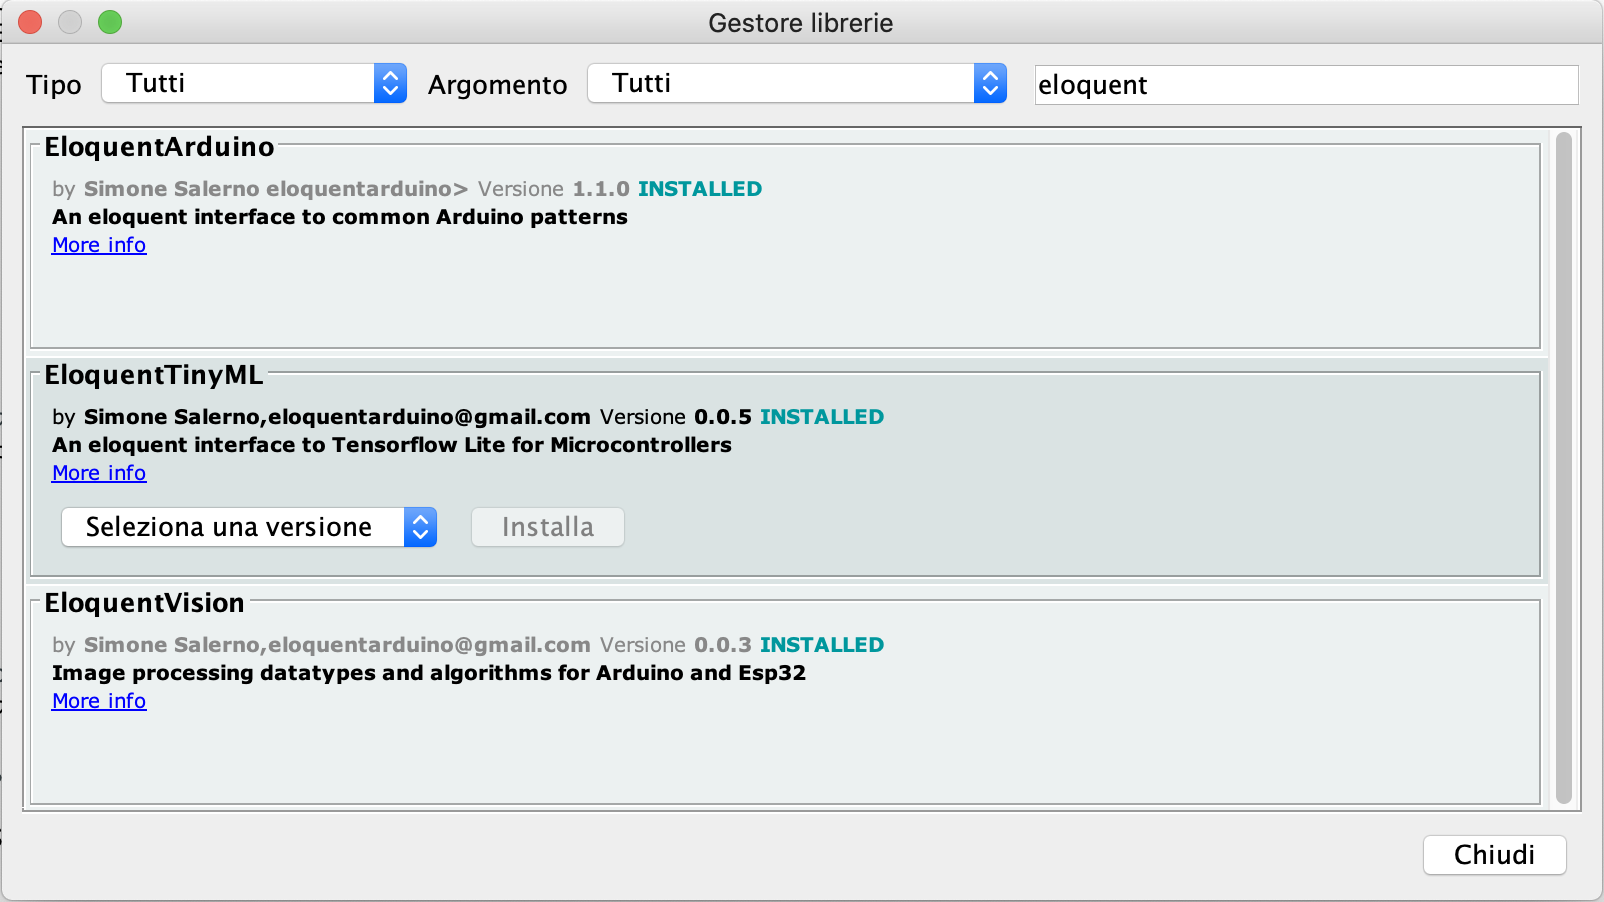
You will need the Eloquent Arduino library for this tutorial, so install it either from Github or from the Library Manager.
Now let's see how it works.
Component #1: The camera
First of all, you need to take a picture to perform motion detection. The Eloquent Arduino library makes it a piece of cake.
#define CAMERA_MODEL_M5STACK_WIDE

#include <eloquentarduino.h>
#include <eloquentarduino/vision/camera/ESP32Camera.h>

#define FRAME_SIZE FRAMESIZE_QVGA
#define PIXFORMAT PIXFORMAT_RGB565

using namespace Eloquent::Vision;

camera_fb_t *frame;
Camera::ESP32Camera camera(PIXFORMAT);

void setup() {
    camera.begin(FRAME_SIZE);
}

void loop() {
    frame = camera.capture();
    delay(100);
}
The above code is the bare minimum you can have: it captures a frame in loop and does nothing. We will build our motion detection on top of this base.
Component #2: The decoder
Once we have an image, we want to access its pixels' values to detect if they changed from a frame to the next. Here comes the RGB trick: you don't really need to detect if a change happened on each RGB channel. In the real world, motion will cause all of the 3 channels to vary so analyzing a single channel would suffice. This helps keeping the actual motion detection algorithm working on a "grayscale" image, even if the original image is RGB (or YUV for that matters!).
A decoder is a class that is able to return the pixel value of the image at a given location (x, y): the Eloquent Arduino library provides the decoders you need out-of-the-box, but you can even write your own if you need a custom solution.
As an example, you can decode the Red channel from an RGB565 image with the following decoder.
IO::Decoders::Red565RandomAccessDecoder decoder;

void loop() {
    frame = camera.capture();

    uint8_t redPixelAtLocation_100_200 = decoder.get(frame->buf, 320, 240, 100, 200);
}
Component #3: the downscaler
Performing motion detection on a 320x240 image could be prone to errors, since Esp32-camera images are not very "stable" and many pixels exhibit changes in their value even if no motion is happening.
To mitigate this problem, we want to work with a downscaled version of the image, where small variations are averaged and thus smoothed.
The Downscaler class takes an image of size W x H and computes an image of size w x h, with w << W and h << H.
How does it computes this scaling?
With a strategy.
Component #4: the downscaling strategy
I already talked about downscaling strategies, so I invite you to read the detailed post. In short, the role of a strategy is to receive a block of pixels as input and produce a single value as output.
Each strategy has its own way of performing this operation: one can compute the average of all the pixels, another can just return the center value, for example.
Component #5: the motion detector
Last but not least, we need a motion detector to track the evolution of the frames in time and detect if a frame changed substantially from the previous.
You can tweak a couple parameters for the algorithm:
difference threshold: how much a pixel value should change to be considered as different. Can either be absolute (in the range 1-255) or relative to the previous value (in the range 0-1). The higher this value, the more evident must be the change in the value to be detected.motion threshold: how many pixels (either in absolute value or percent) must change from a frame to the next to be detected as motiondebounce frames: how many frames to ignore after a motion event before starting to detect motion again
Putting it all together
Now that we have all the pieces we need, it's time to put them all together.
#define CAMERA_MODEL_M5STACK_WIDE

// include the relevant libraries
#include <FS.h>
#include <SPIFFS.h>
#include <eloquentarduino.h>
#include <eloquentarduino/io/serial_print.h>
#include <eloquentarduino/vision/camera/ESP32Camera.h>
#include <eloquentarduino/vision/io/decoders/Red565RandomAccessDecoder.h>
#include <eloquentarduino/vision/io/writers/JpegWriter.h>

// define the source format and the downscaled dimensions
#define FRAME_SIZE FRAMESIZE_QVGA
#define PIXFORMAT PIXFORMAT_RGB565
#define W 320
#define H 240
#define w 32
#define h 24
// tweak these values as per your need
#define DIFF_THRESHOLD 15
#define MOTION_THRESHOLD 0.15

// delete the second definition if you want to turn on code benchmarking
#define timeit(label, code) { uint32_t start = millis(); code; uint32_t duration = millis() - start; eloquent::io::print_all("It took ", duration, " millis for ", label); }
#define timeit(label, code) code;

using namespace Eloquent::Vision;

camera_fb_t *frame;
Camera::ESP32Camera camera(PIXFORMAT);
IO::Decoders::Red565RandomAccessDecoder decoder;
Processing::Downscaling::Center<W / w, H / h> strategy;
Processing::Downscaling::Downscaler<W, H, w, h> downscaler(&decoder, &strategy);
Processing::MotionDetector<w, h> motion;
IO::Writers::JpegWriter<W, H> jpegWriter;

void capture();
void save();

void setup() {
    Serial.begin(115200);
    SPIFFS.begin(true);
    delay(1000);
    Serial.println("Begin");

    camera.begin(FRAME_SIZE);
    // set how much a pixel value should differ to be considered as a change
    motion.setDiffThreshold(DIFF_THRESHOLD);
    // set how many pixels (in percent) should change to be considered as motion
    motion.setMotionThreshold(MOTION_THRESHOLD);
    // prevent consecutive triggers
    motion.setDebounceFrames(5);
}

void loop() {
    capture();
    eloquent::io::print_all(motion.changes(), " pixels changed");

    if (motion.triggered()) {
        Serial.println("Motion detected");

        // uncomment to save to disk
        // save();

        delay(1000);
    }

    delay(30);
}

void capture() {
    uint8_t downscaled[w * h];

    // capture image
    timeit("capture frame", frame = camera.capture());

    // scale image from size H * W to size h * w
    timeit("downscale", downscaler.downscale(frame->buf, downscaled));

    // detect motion on the downscaled image
    timeit("motion detection", motion.detect(downscaled));
}

void save() {
    File imageFile = SPIFFS.open("/capture.jpg", "wb");
    uint8_t quality = 30;

    eloquent::io::print_all("The image will be saved as /capture.jpg");
    jpegWriter.write(imageFile, frame->buf, PIXFORMAT, quality);
    imageFile.close();
    eloquent::io::print_all("Saved");
}
I commented the code extensively, so it should be pretty clear what's happening: when motion is detected, a message is printed to the serial monitor and (optionally) the image is saved to disk as an RGB jpeg.
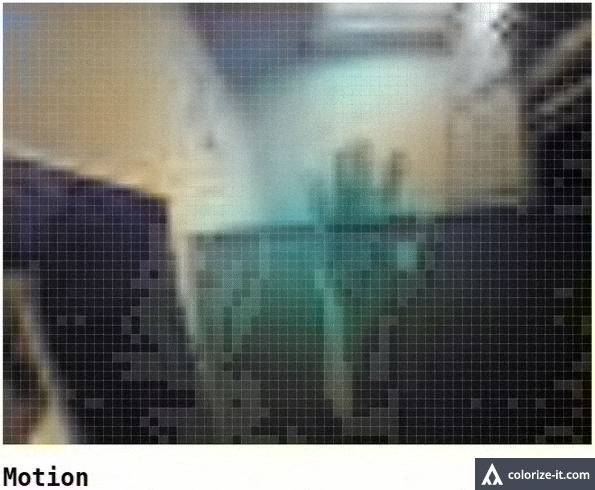
Photo capture visualization
If you'd like to see what's being captures in real-time, I created a Python script that does exactly that (you can find it on Github).
First, upload the example sketch to your board and be sure it works well.
Then install the required packages.
pip install pySerialLastly, after you powered the Esp32-camera, fill the right port path in the script and execute it: every time motion is detected, it will save a new image in the current folder.
That's all for now: as always, feel free to comment and suggest improvements or report your own experience.
You can find the example project in the Github repo