
Are you looking for a top-performer classifiers with a minimal amount of parameters to tune? Look no further: Gaussian Naive Bayes is what you're looking for. And thanks to EloquentML you can now port it to your microcontroller.
(Gaussian) Naive Bayes
Naive Bayes classifiers are simple models based on the probability theory that can be used for classification.
They originate from the assumption of independence among the input variables. Even though this assumption doesn't hold true in the vast majority of the cases, they often perform very good at many classification tasks, so they're quite popular.
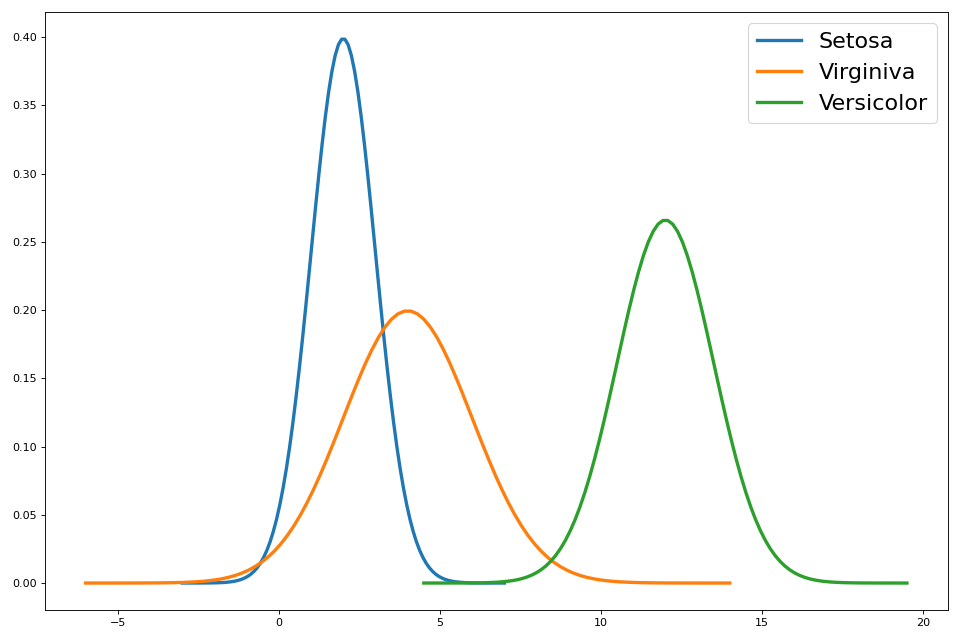
Gaussian Naive Bayes stack another (mostly wrong) assumption: that the variables exhibit a Gaussian probability distribution.
I (and many others like me) will never understand how it is possible that so many wrong assumptions lead to such good performances!
Nevertheless, what is important to us is that sklearn implements GaussianNB, so we easily train such a classifier.
The most interesting part is that GaussianNB can be tuned with just a single parameter: var_smoothing.
Don't ask me what it does in theory: in practice you change it and your accuracy can boost. This leads to an easy tuning process that doesn't involves expensive grid search.
import sklearn.datasets as d
from sklearn.model_selection import train_test_split
from sklearn.preprocessing import normalize
from sklearn.naive_bayes import GaussianNB

def pick_best(X_train, X_test, y_train, y_test):
    best = (None, 0)
    for var_smoothing in range(-7, 1):
        clf = GaussianNB(var_smoothing=pow(10, var_smoothing))
        clf.fit(X_train, y_train)
        y_pred = clf.predict(X_test)
        accuracy = (y_pred == y_test).sum()
        if accuracy > best[1]:
            best = (clf, accuracy)
    print('best accuracy', best[1] / len(y_test))
    return best[0]

iris = d.load_iris()
X = normalize(iris.data)
y = iris.target
X_train, X_test, y_train, y_test = train_test_split(X, y, test_size=0.3)
clf = pick_best(X_train, X_test, y_train, y_test)
This simple procedure will train a bunch of classifiers with a different var_smoothing factor and pick the best performing one.
EloquentML integration
Once you have your trained classifier, porting it to C is as easy as always:
from micromlgen import port

clf = pick_best()
print(port(clf))
Always remember to run
pip install --upgrade micromlgenport is a magic method able to port many classifiers: it will automatically detect the proper converter for you.
What does the exported code looks like?
#pragma once
namespace Eloquent {
    namespace ML {
        namespace Port {
            class GaussianNB {
                public:
                    /**
                    * Predict class for features vector
                    */
                    int predict(float *x) {
                        float votes[3] = { 0.0f };
                        float theta[4] = { 0 };
                        float sigma[4] = { 0 };
                        theta[0] = 0.801139789889; theta[1] = 0.54726920354; theta[2] = 0.234408773313; theta[3] = 0.039178084094;
                        sigma[0] = 0.000366881742; sigma[1] = 0.000907992556; sigma[2] = 0.000740960787; sigma[3] = 0.000274925514;
                        votes[0] = 0.333333333333 - gauss(x, theta, sigma);
                        theta[0] = 0.748563871324; theta[1] = 0.349390892644; theta[2] = 0.536186138345; theta[3] = 0.166747384117;
                        sigma[0] = 0.000529727082; sigma[1] = 0.000847956504; sigma[2] = 0.000690057342; sigma[3] = 0.000311828658;
                        votes[1] = 0.333333333333 - gauss(x, theta, sigma);
                        theta[0] = 0.704497203305; theta[1] = 0.318862439835; theta[2] = 0.593755956917; theta[3] = 0.217288784452;
                        sigma[0] = 0.000363782089; sigma[1] = 0.000813846722; sigma[2] = 0.000415475678; sigma[3] = 0.000758478249;
                        votes[2] = 0.333333333333 - gauss(x, theta, sigma);
                        // return argmax of votes
                        uint8_t classIdx = 0;
                        float maxVotes = votes[0];

                        for (uint8_t i = 1; i < 3; i++) {
                            if (votes[i] > maxVotes) {
                                classIdx = i;
                                maxVotes = votes[i];
                            }
                        }

                        return classIdx;
                    }

                protected:
                    /**
                    * Compute gaussian value
                    */
                    float gauss(float *x, float *theta, float *sigma) {
                        float gauss = 0.0f;

                        for (uint16_t i = 0; i < 4; i++) {
                            gauss += log(sigma[i]);
                            gauss += pow(x[i] - theta[i], 2) / sigma[i];
                        }

                        return gauss;
                    }
                };
            }
        }
}As you can see, we need a couple of "weight vectors":
thetais the mean of each featuresigmais the standard deviation
The computation is quite thin: just a couple of operations; the class with the highest score is then selected.
Benchmarks
Following there's a recap of a couple benchmarks I run on an Arduino Nano 33 Ble Sense.
| Classifier | Dataset | Flash | RAM | Execution time | Accuracy |
|---|---|---|---|---|---|
| GaussianNB | Iris (150x4) | 82 kb | 42 Kb | 65 ms | 97% |
| LinearSVC | Iris (150x4) | 83 Kb | 42 Kb | 76 ms | 99% |
| GaussianNB | Breast cancer (80x40) | 90 Kb | 42 Kb | 160 ms | 77% |
| LinearSVC | Breast cancer (80x40) | 112 Kb | 42 Kb | 378 ms | 73% |
| GaussianNB | Wine (100x13) | 85 Kb | 42 Kb | 130 ms | 97% |
| LinearSVC | Wine (100x13) | 89 Kb | 42 Kb | 125 ms | 99% |
We can see that the accuracy is on par with a linear SVM, reaching up to 97% on some datasets. Its semplicity shines with high-dimensional datasets (breast cancer) where execution time is half of the LinearSVC: I can see this pattern repeating with other real-world, medium-sized datasets.
Troubleshooting
It can happen that when running micromlgen.port(clf) you get a TemplateNotFound error. To solve the problem, first of all uninstall micromlgen.
pip uninstall micromlgenThen head to Github, download the package as zip and extract the micromlgen folder into your project.
This is it, you can find the example project on Github.